Unveiling the True Hardness: The Right Way to Measure Tubular Components2024-12-26
In the precision manufacturing industry, ensuring the quality of materials through accurate testing is crucial. This case study examines a situation where a customer reported that the surface hardness of a CNC machined tubular component did not meet the required standards due to incorrect testing methods. The study highlights the importance of proper measurement techniques and how they can significantly affect the results.
Background
The client received a batch of tubular components and conducted a hardness test, reporting that the surface hardness was below the specified standard of HRC 48-52, measuring only around HRC 43. This discrepancy led to concerns about the quality of the component being manufactured. However, upon our engineering team’s investigation, it was found that the customer's method of testing was flawed.
Incorrect Measurement Method
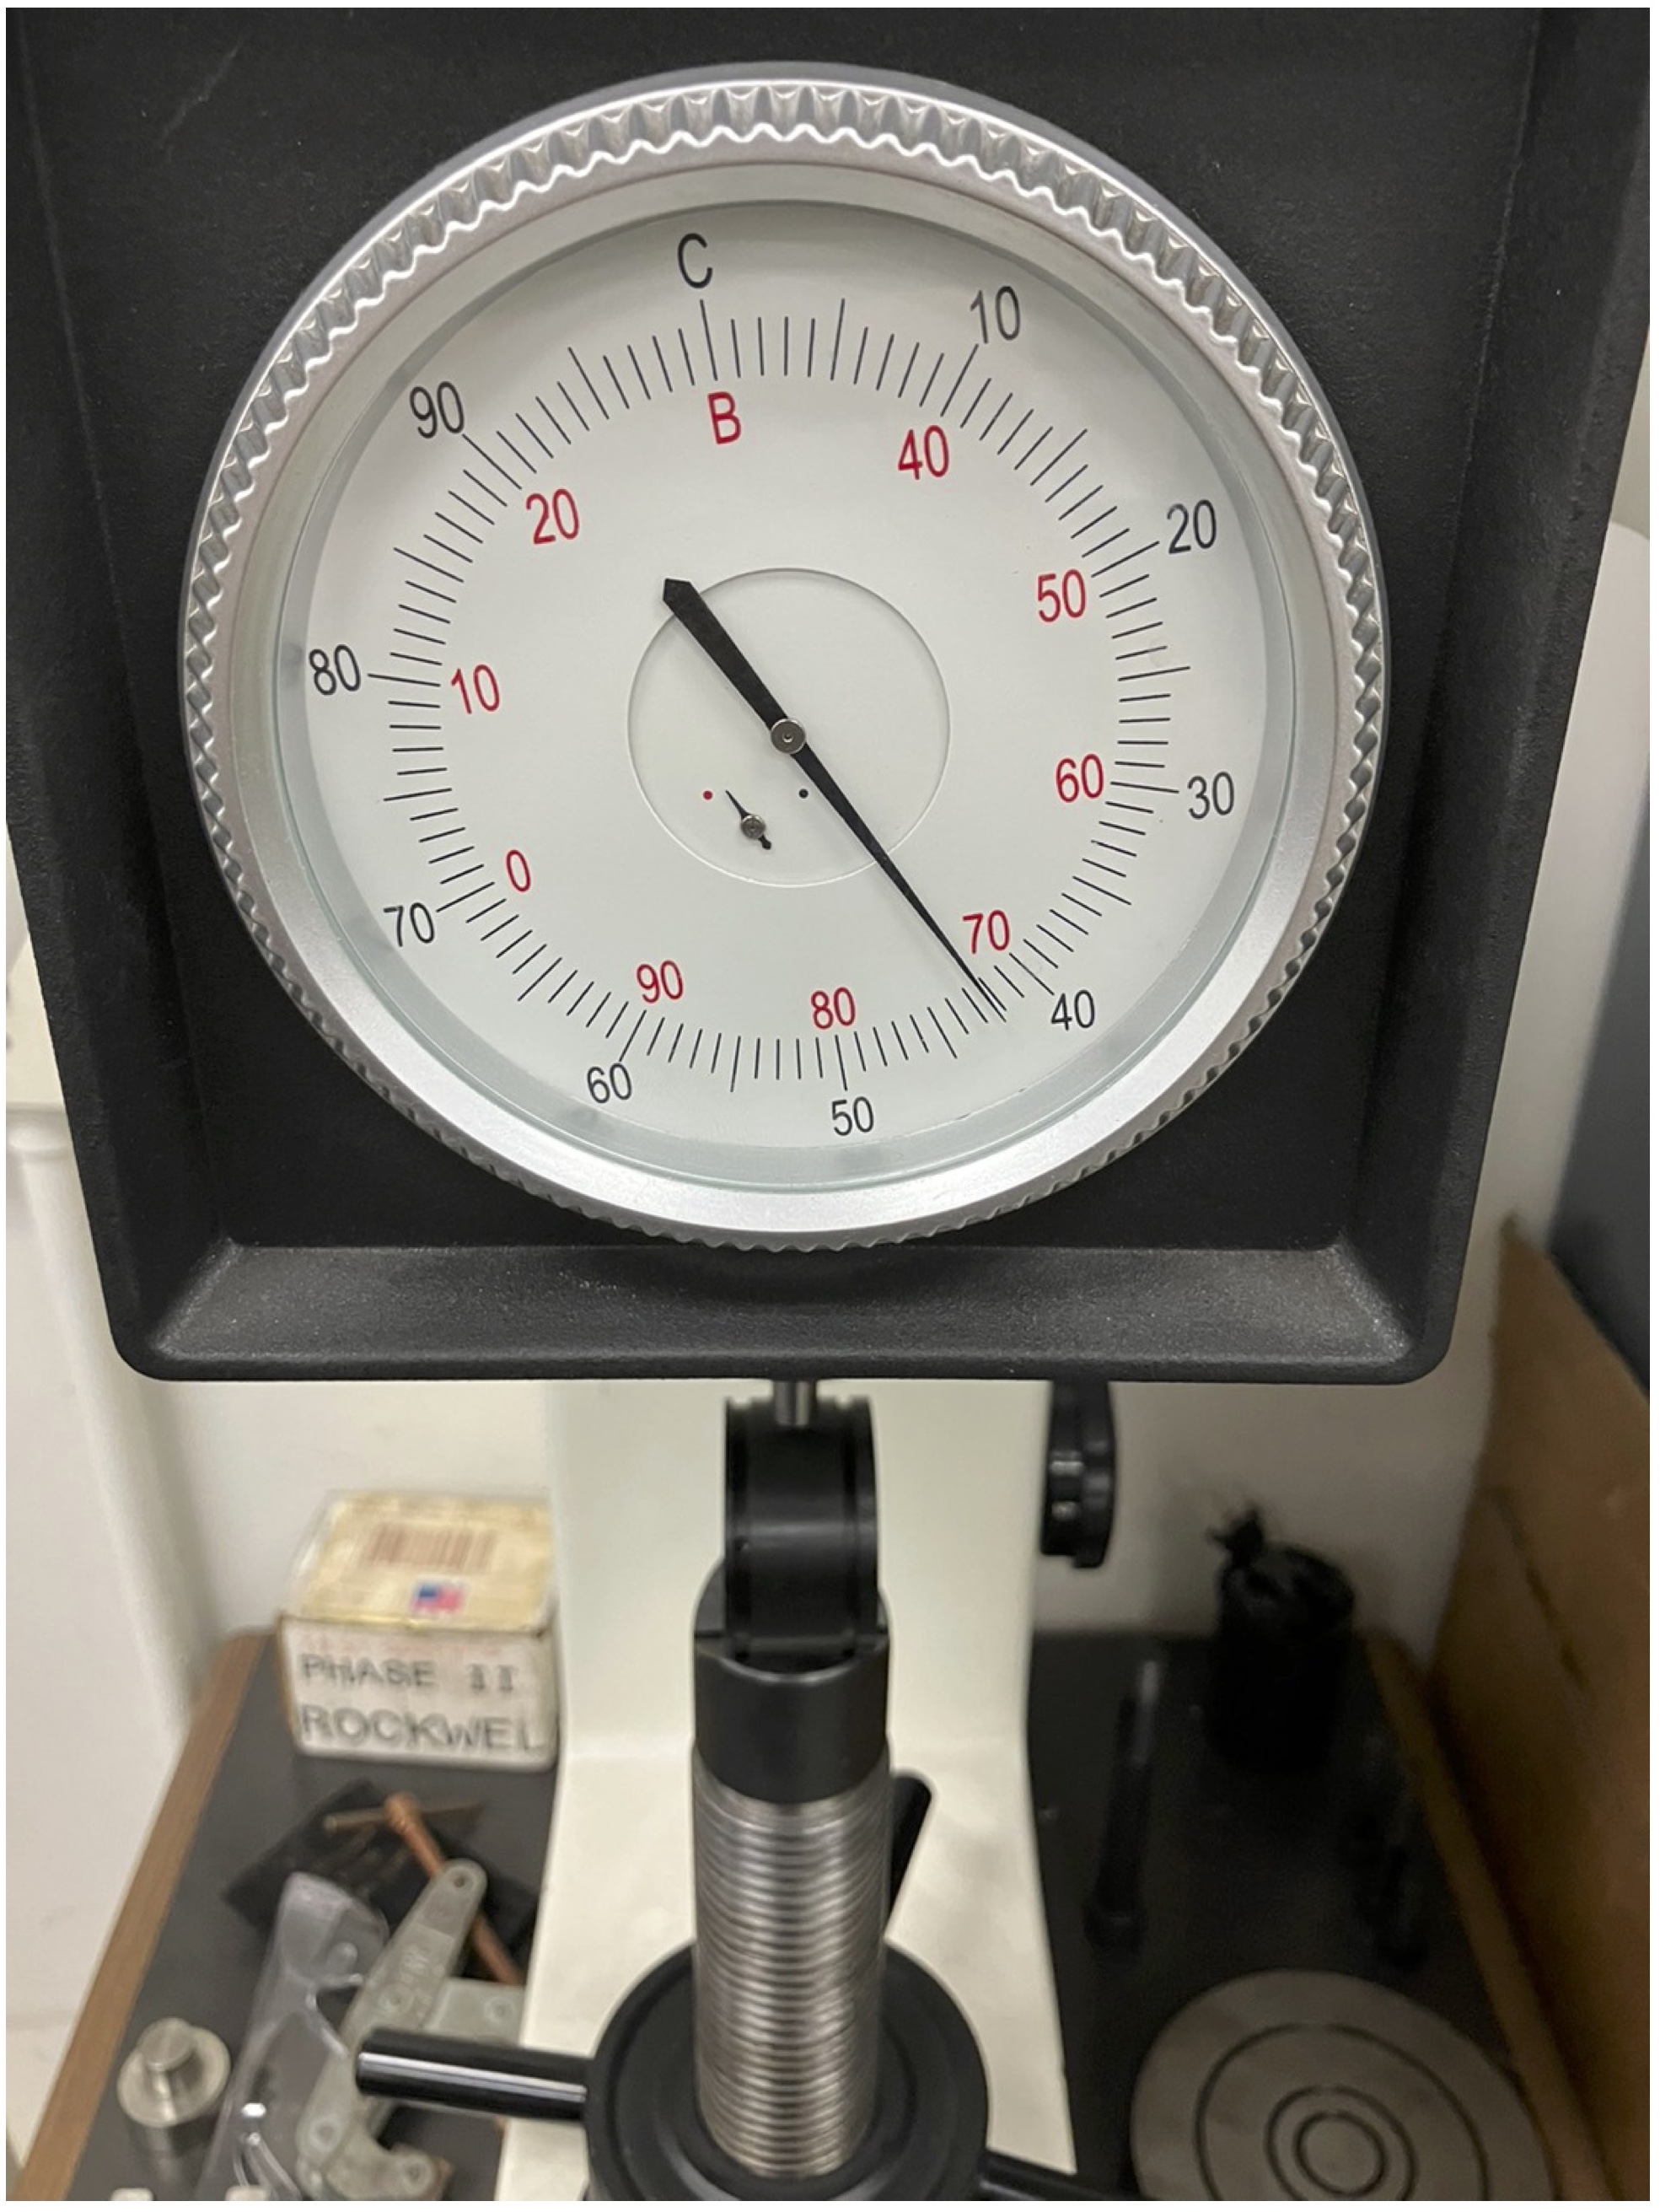
The customer's approach, as depicted in the photo below, involved laying the tubular part horizontally and measuring hardness from the outer diameter towards the center using a hardness tester probe. This method resulted in:

Hardness measurement by client
1.) Probe Alignment Issue: When the tubular part is placed horizontally, it's challenging to ensure that the hardness tester probe is perfectly perpendicular to the surface at the maximum outer diameter of the part. Any slight eccentricity in the placement of the probe can lead to inaccurate readings. This misalignment can cause the probe to measure at an angle, which affects the depth of penetration and, consequently, the hardness value.
2.) Potential Deformation: The round tube might likely deform under the force applied by the hardness tester probe, especially when the probe is applied from the side, which could deviate the measurements.
3.) Low Hardness Reading: The recorded hardness was approximately HRC 43, significantly lower than the expected standard.
Correct Measurement Method
The proper method for measuring the hardness of tubular components, as shown in the photo below, involves the following steps:

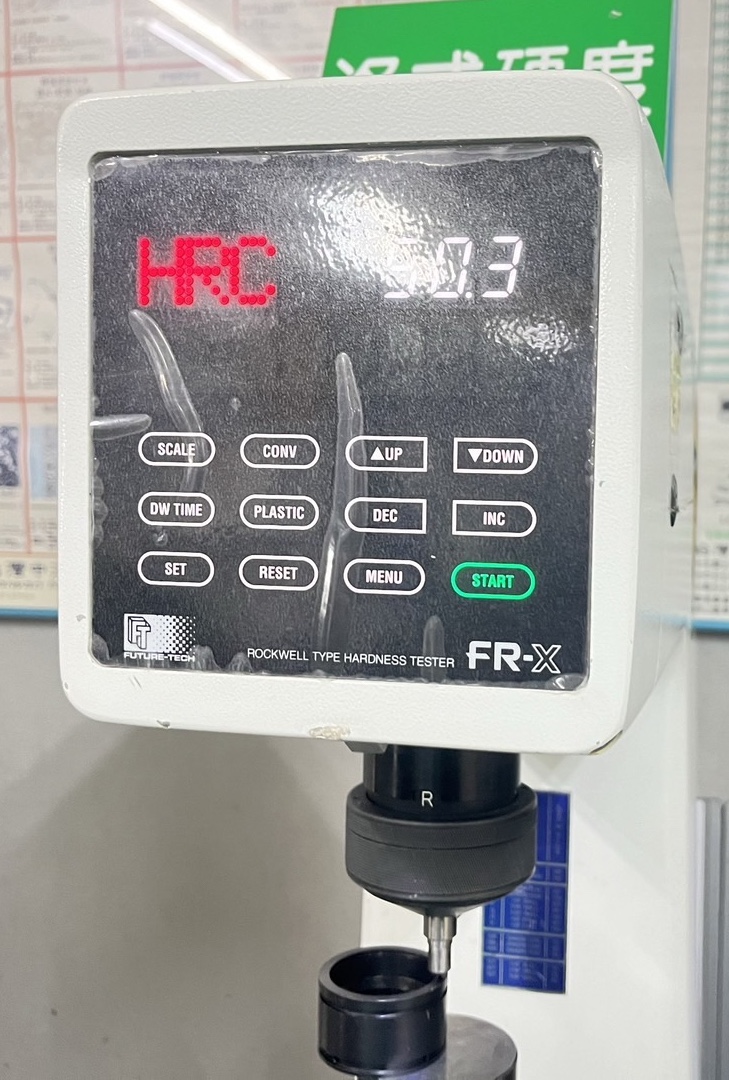
Correct hardness measurement by Apporo
1.) Preparation: To ensure that the measurement is taken on a flat surface.
2.) Setup: The tubular part is placed on the hardness tester with the cut end facing upwards. It is crucial that the workpiece is supported stably from below to prevent any movement or deformation during testing.
3.) Measurement: Using a Rockwell Hardness Tester, as seen in the image, the probe is applied directly to the exposed end face of the tube wall. This approach minimizes the risk of deformation and provides a true representation of the component's hardness.
4.) Result: The correct measurement, as shown in the image, yielded a hardness of HRC 50.3, which meets the required standard.
This case study demonstrates the critical role of proper measurement techniques in quality assurance. The customer's initial complaint was resolved by demonstrating the improved method of hardness testing for tubular components, which resulted in a hardness reading that met the specified standards. It highlights the need for education on testing methodologies to prevent misinterpretation of material properties and underscores the importance of accurate, standardized testing procedures in maintaining product quality and trust between manufacturers and their clients. We highly encourage customers to verify testing methods with Apporo before concluding that a CNC machined part is non-compliant, to avoid unnecessary disputes.
